Many of the tools in Lightroom are straightforward. However, there are some hidden gems like this one.
When you are using the Crop Tool, you will see gray grid lines that help you with the composition of your photo. These are called Crop Overlays. By default, it is set to Thirds, which helps you follow the famous Rule of Thirds of composition.
One of the best-kept-secrets in Lightroom is that the Thirds Overlay is not the only Crop Overlay you have to choose from. You can change the overlay to one of seven options within Lightroom. To see the different options you can go to the Tools menu scroll to the bottom, and find an option called Crop Guide Overlay. It opens a sub-menu where you can choose from the different options available to you.
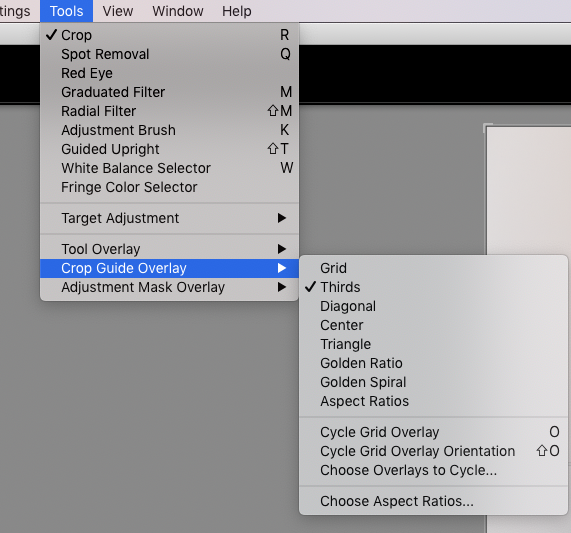
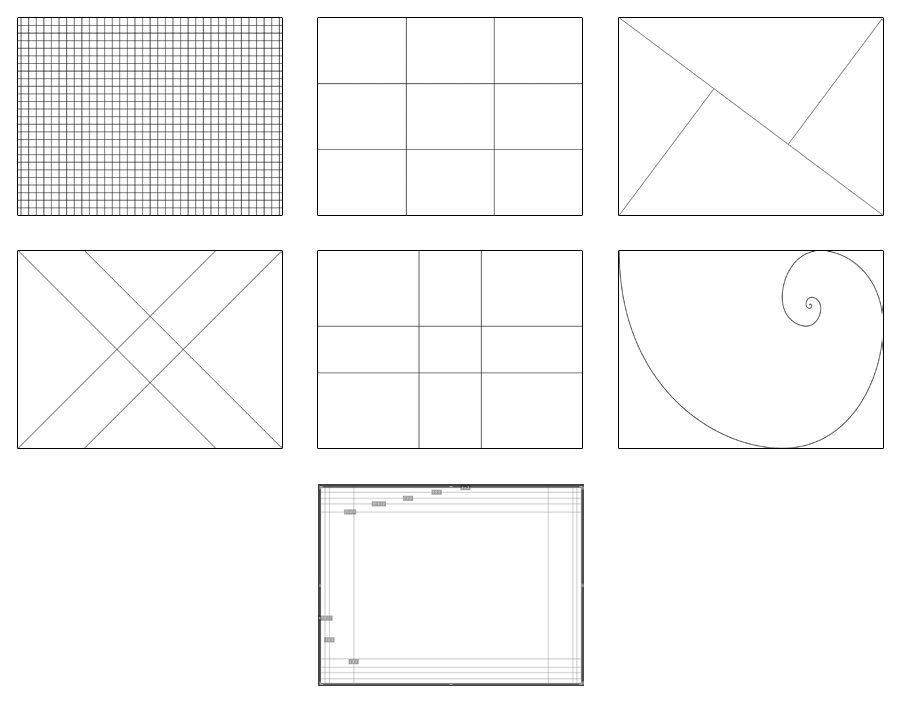
The options you have available to you are Grid, Thirds, Diagonal, Triangle, Golden Ratio, Golden Spiral and Aspect Ratio. These different overlays assist you in different ways to crop your photograph.
SHORTCUT KEY
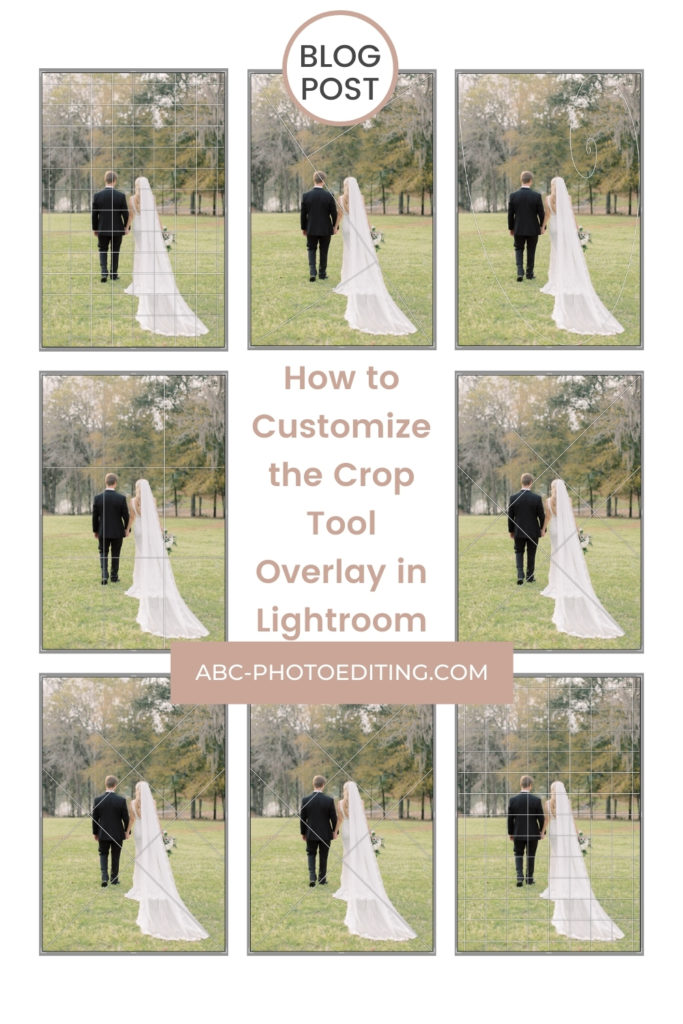
If you’ve been following me for any length of time, then you know I am going to give you the shortcut key! If you press the “o” key, while using the crop tool in the develop mode, it will cycle through the 7 different crop overlays. Pressing shift “o” will change the orientation of the overlay from portrait to landscape or vice-versa.
Now it’s time to see it in action! Watch the tutorial below and then let me know what you think in the comments. Will you use any of these overlays?
If you found this helpful, I have many tutorials on my You Tube Channel where you will find weekly Lightroom editing tips and shortcuts. Be sure and SUBSCRIBE so you’ll never miss them. And please share this with a friend who also loves to edit!
If you have editing questions, never hesitate to reach out. I am always here to help. DM me on Instagram @alisamccormick and let’s chat! I am an open book and love to help others grow on their editing journeys.
Until next time, Happy Editing!

leave a comment