


As an editor there are many times I need to see a before and after view while editing. Before I learned these quick and easy shortcuts, I was hesitant to do it. I thought the only way to see the ‘before’ view was to hit the ‘reset’ button, which would take me back to the photo’s import attributes.
Always use shortcuts whenever possible!
But there are actually 2 quick and easy keyboard shortcuts that allow me (and you) to see a before and after view of the image, I am working on. It literally takes 2 seconds.
2 different ways to view
the before and after of an image.
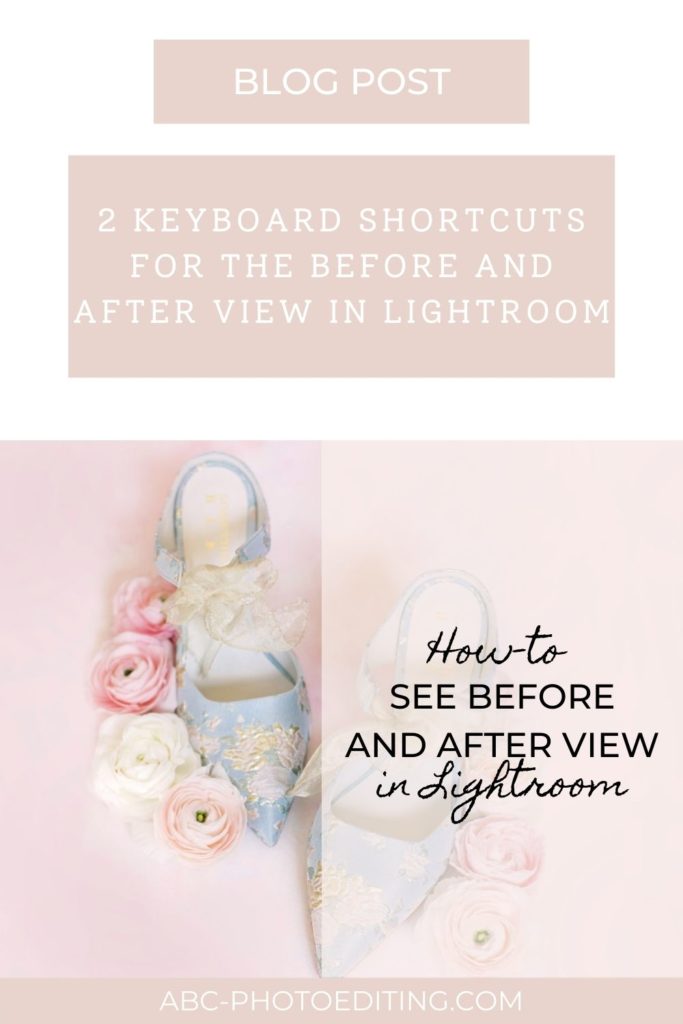
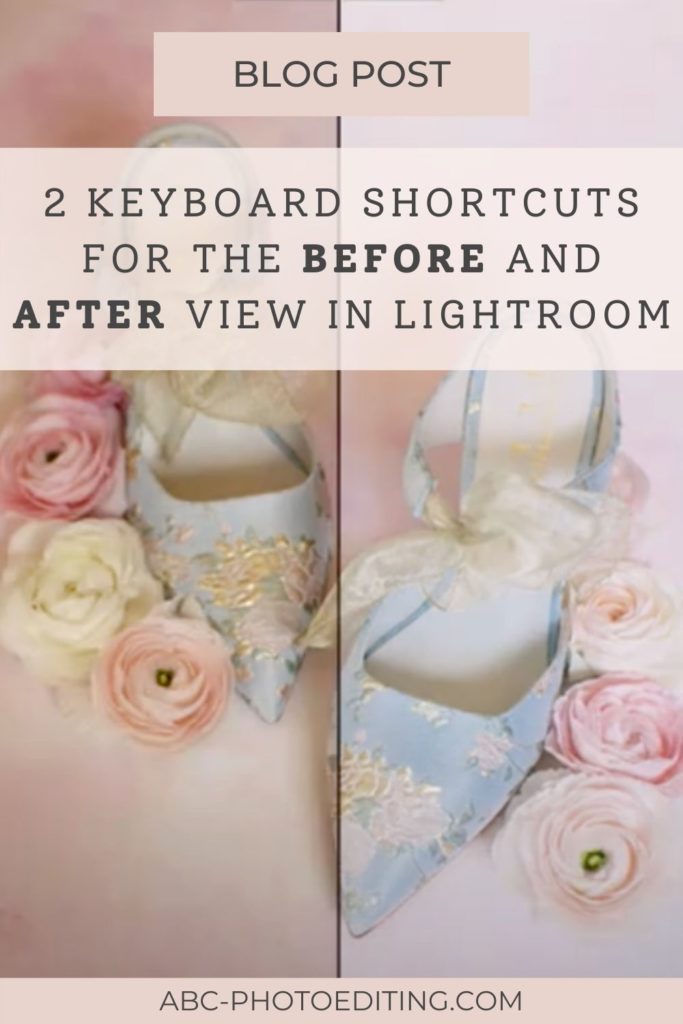
To see the entire image you simply hit the back slash key ( \ ) on the keyboard. To see a side by side view, of the before and after, you hit the ( y ) key on the keyboard. That’s it! It is that simple. Watch the video below to see just how simple it is!
If you found this helpful, I have many tutorials on my You Tube Channel where you will find weekly Lightroom editing tips and shortcuts. Be sure and SUBSCRIBE so you’ll never miss them. And please share this with a friend who also loves to edit!
If you have editing questions, never hesitate to reach out. I am always here to help. DM me on Instagram @alisamccormick and let’s chat! I am an open book and love to help others grow on their editing journeys.
Until next time, Happy Editing!


leave a comment