


As I talked about yesterday, straightening an image in Lightroom seems like it should be a no-brainer. After all, how hard could it be?
But as with most tools in Lightroom, there is more than one way to straighten and/or crop a photo within the Lightroom interface. So how do you know which one to use? Is one way better than another?
I believe there are ways that work better for different situations. Yesterday I shared the way I believe to be the best method for images with no obvious horizon lines, or distinct lines such as the lines of a building.
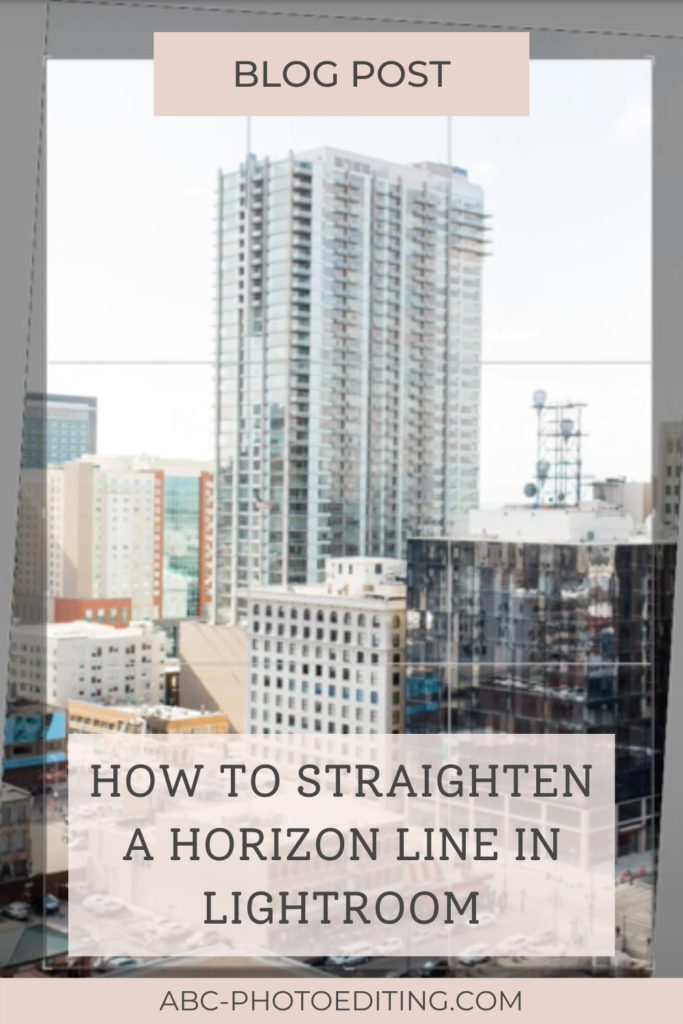
Today I will show you what I believe to be the easiest and best way to straighten an image in Lightroom when there is a horizon in the photo. This method also works best for city scapes when the lines of a building need to be perfectly straight.
I hope that helps. Once you have had some practice with the straightening tool it will become second nature. Also, the more you straighten the images, the faster you become at fixing them and noticing, almost instantly, when an image needs to be straightened.
If you found this helpful, I have many tutorials on my You Tube Channel where you will find weekly Lightroom editing tips and shortcuts. Be sure and SUBSCRIBE so you’ll never miss them. And please share this with a friend who also loves to edit!
If you have editing questions, never hesitate to reach out. I am always here to help. DM me on Instagram @alisamccormick and let’s chat! I am an open book and love to help others grow on their editing journeys.
Until next time, Happy Editing!


leave a comment