

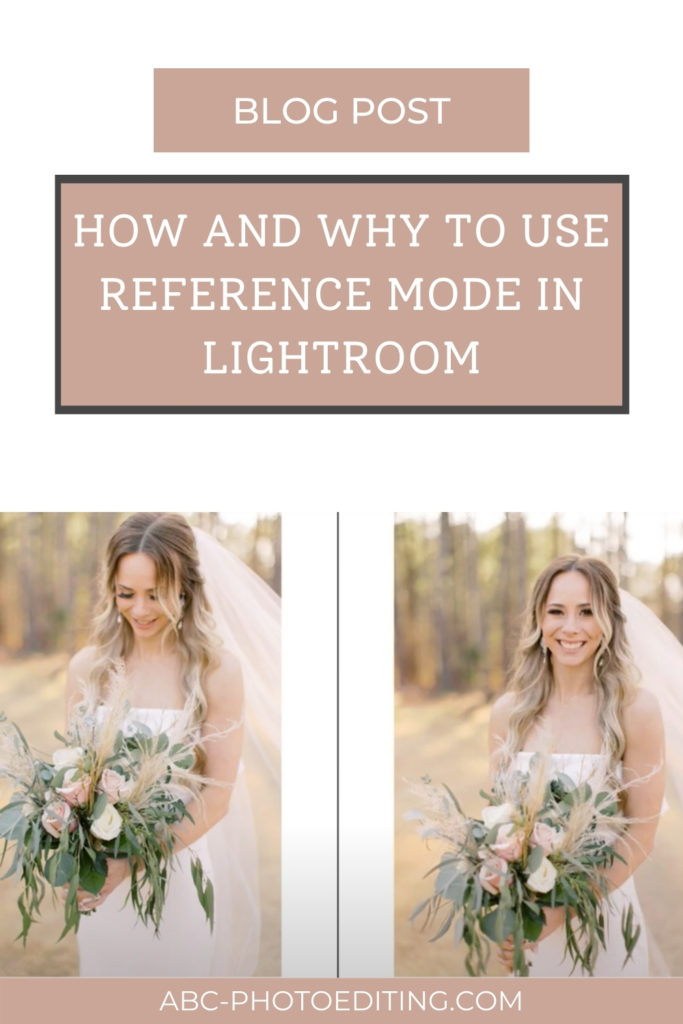
This might be my favorite hack in Lightroom! I edit this way EVERY day with EVERY gallery I edit. It quite literally, is my secret weapon.
editing in reference mode is my secret weapon
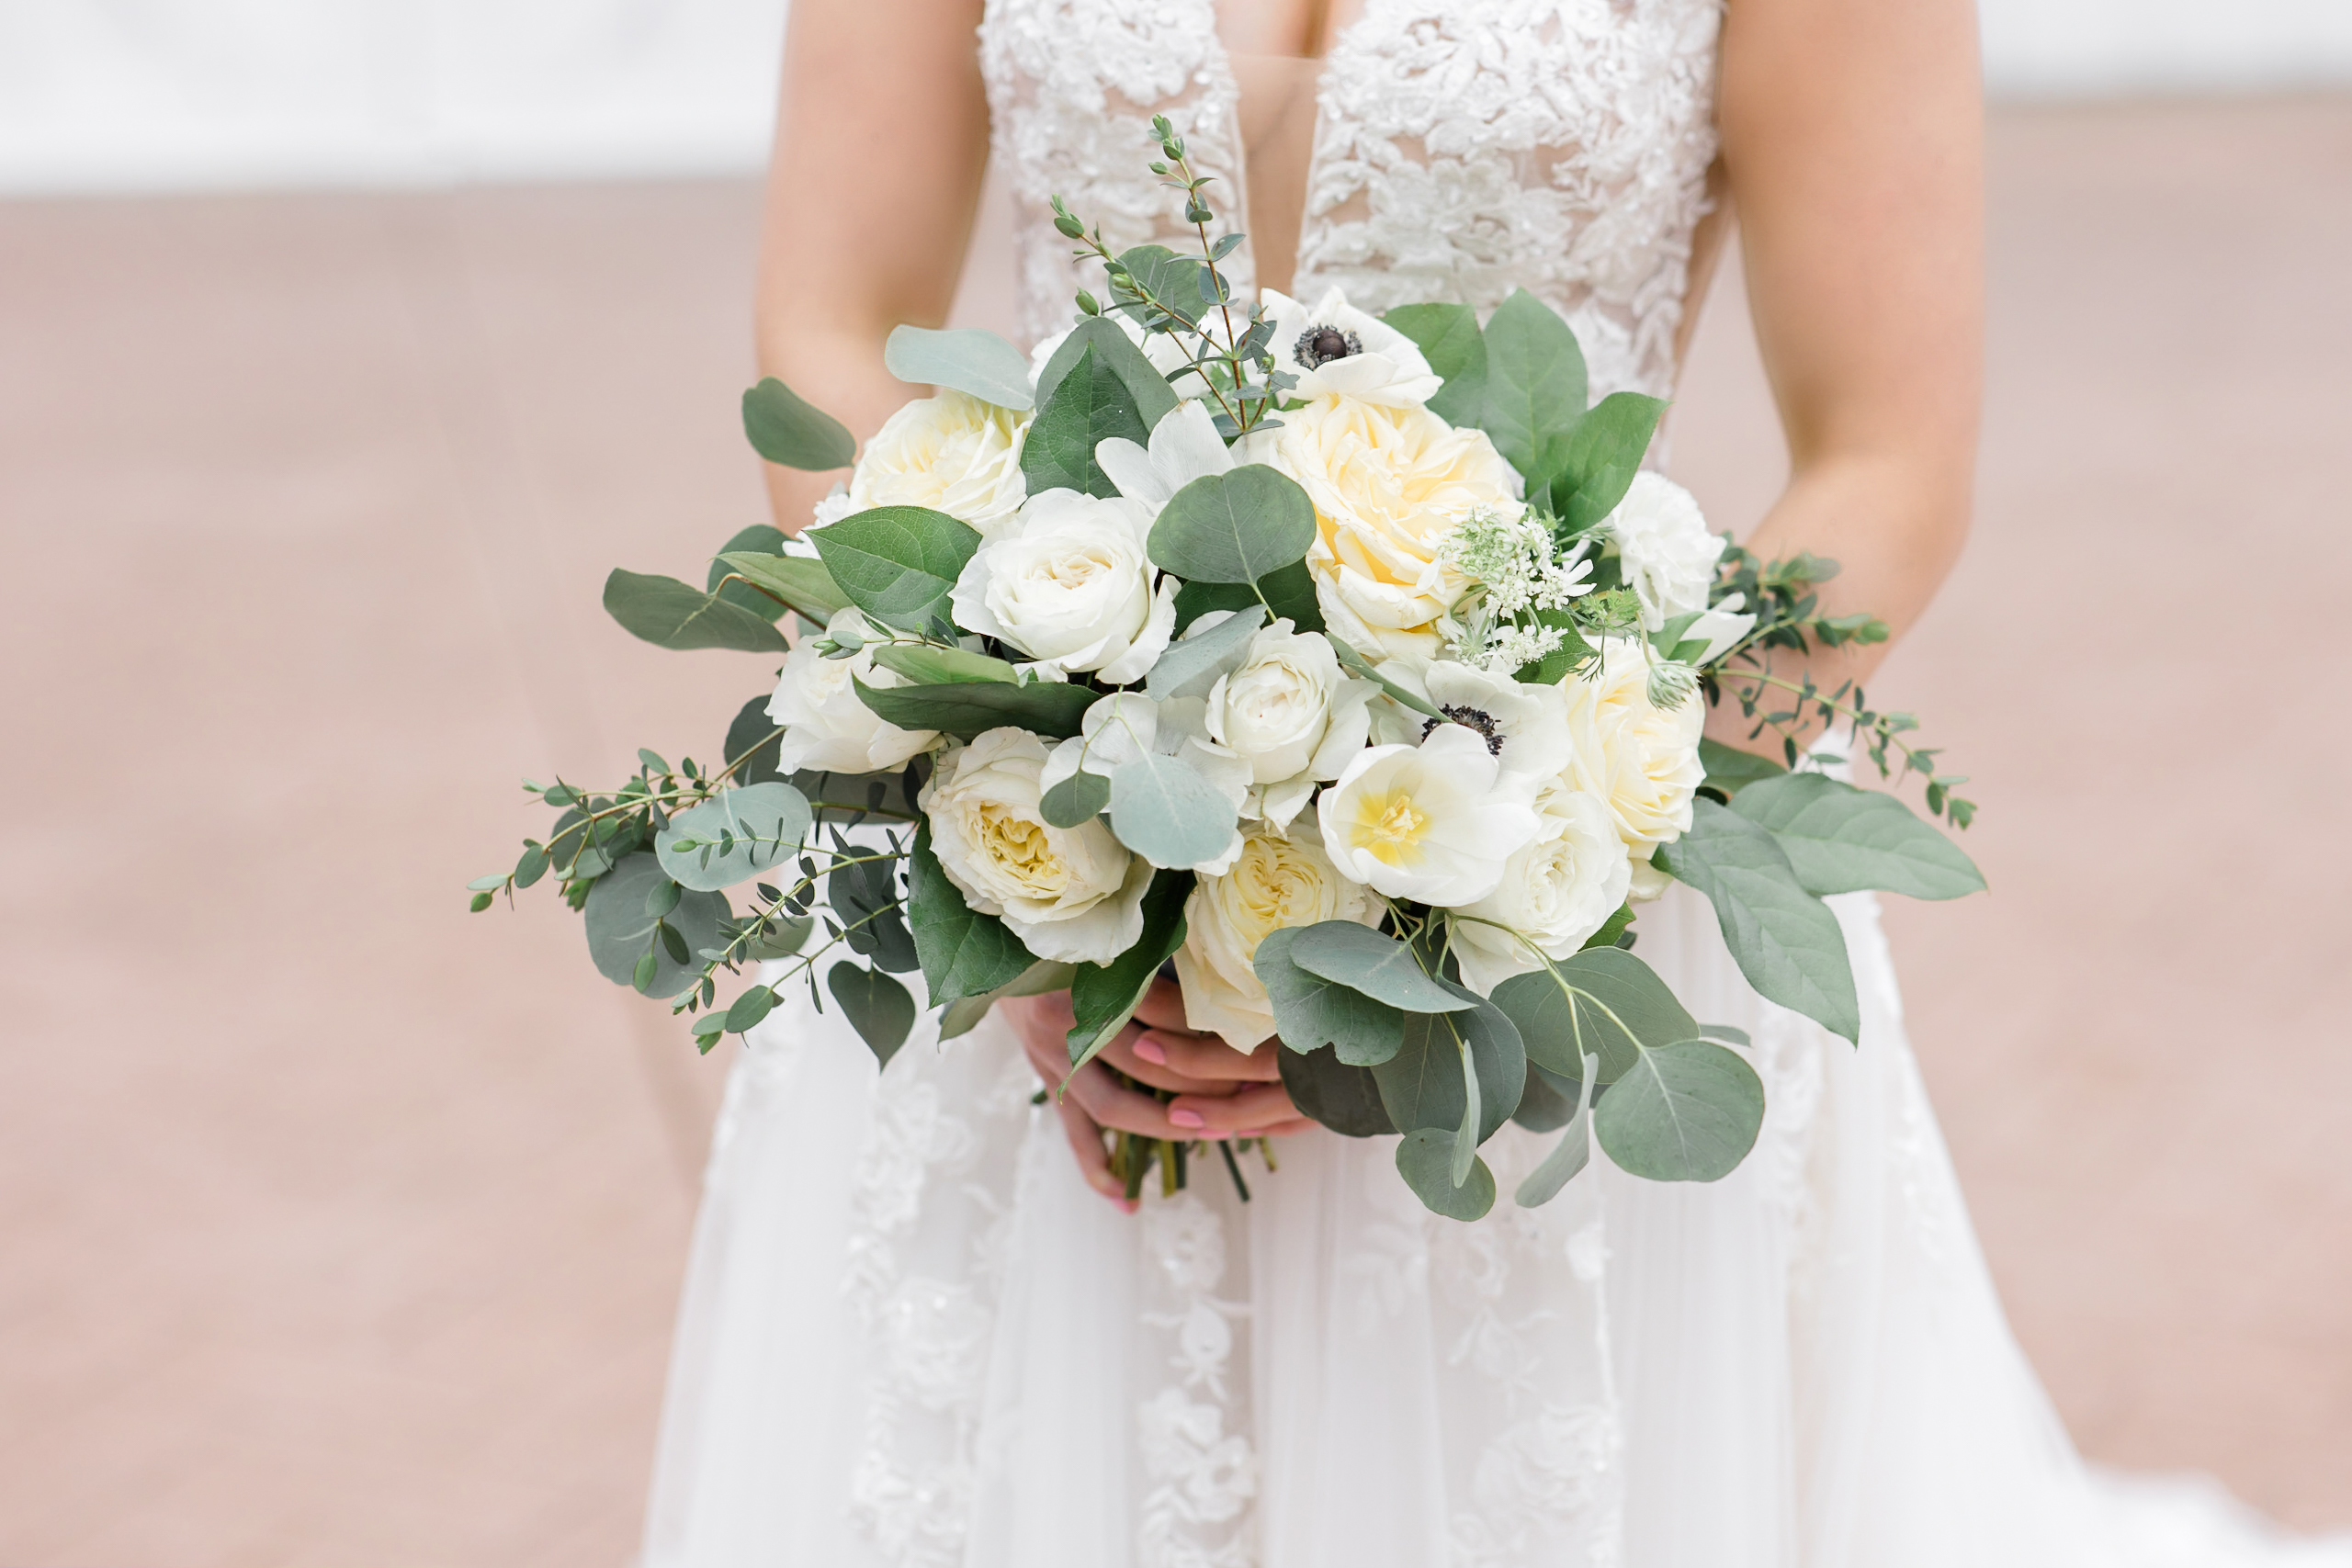
As a professional editor it is crucial to deliver consistent, cohesive galleries. Editing in Reference Mode allows you to do just that! With reference mode you can use an image as an anchor, while editing a different image side-by-side. As you make adjustments to the image you are working on, your anchor image remains untouched. It’s a brilliant tool!
If you are a visual learner like I am, watch the full video tutorial below.
If you found this helpful, I have many tutorials on my You Tube Channel where you will find weekly Lightroom editing tips and shortcuts. Be sure and SUBSCRIBE so you’ll never miss them. And please share this with a friend who also loves to edit!
If you have editing questions, never hesitate to reach out. I am always here to help. DM me on Instagram @alisamccormick and let’s chat! I am an open book and love to help others grow on their editing journeys.
Until next time, Happy Editing!


[…] The Lock Screen, or sometimes referred to as the Second Monitor, is very similar to editing in Reference Mode. If you are unfamiliar with using Reference Mode, watch this tutorial first. […]