


As an editor, we often times come across a photo that is presenting itself in the wrong orientation. That is just a fancy way of saying it’s laying on its side. Or perhaps, it’s upside down.
As with all things in Lightroom, there is more than one way to correct the photo and turn it right-side-up. First I will tell you how I rarely, if ever, do it.
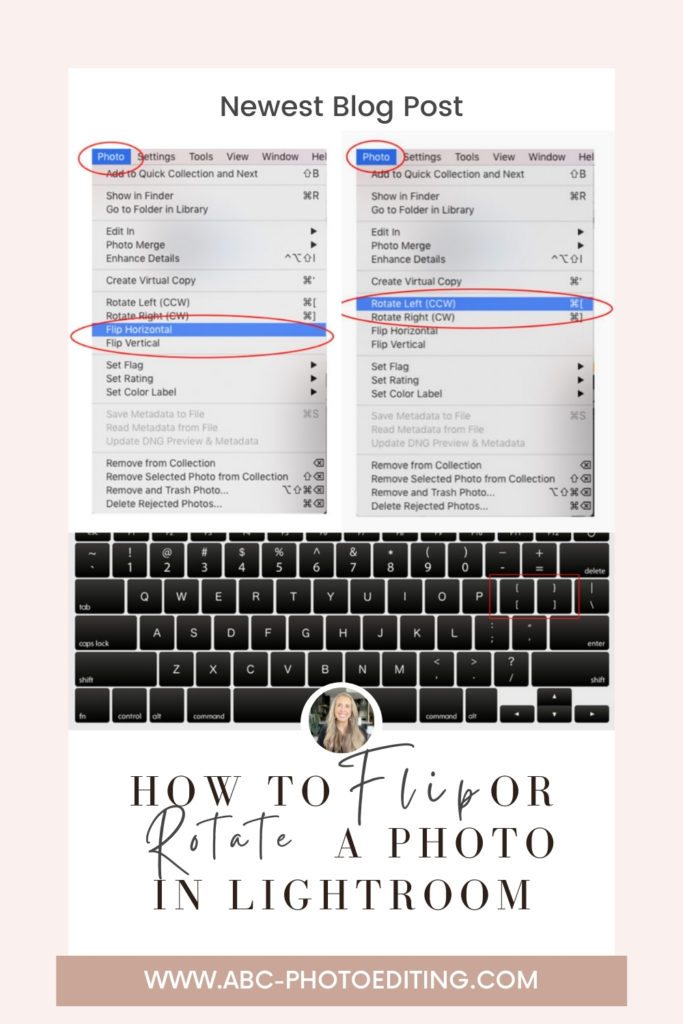
While in the Develop Module, go to Photo > Rotate Left, or Photo > Rotate Right, as many times as need until the photo is in proper orientation. You will notice you can also flip a photo horizontally or vertically this way as well.
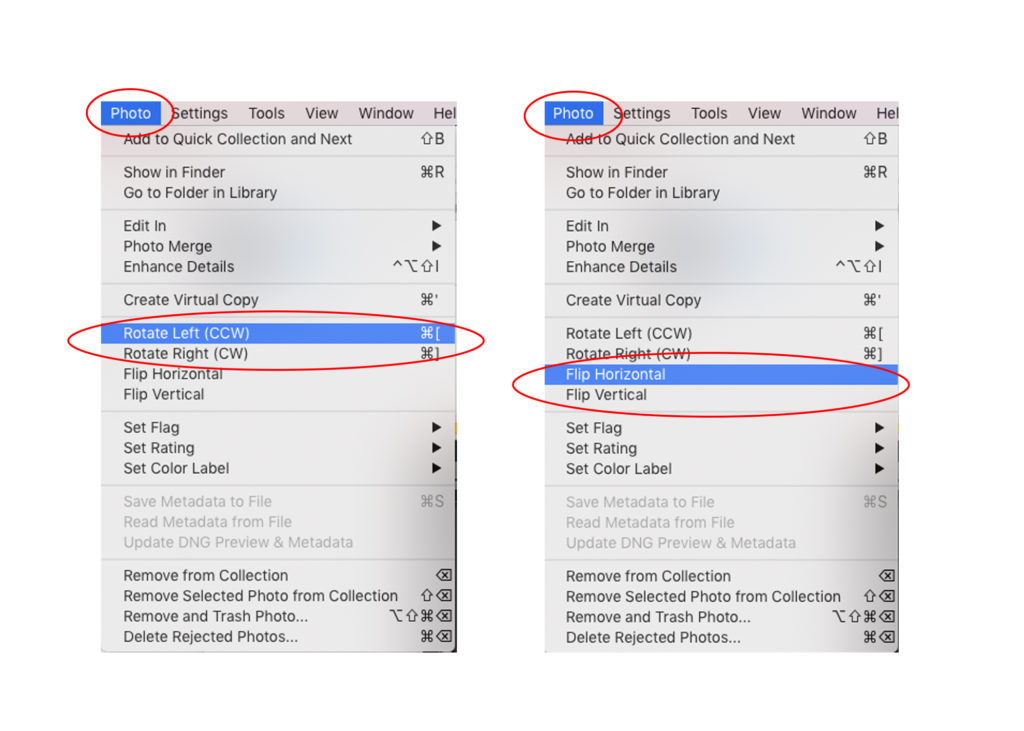
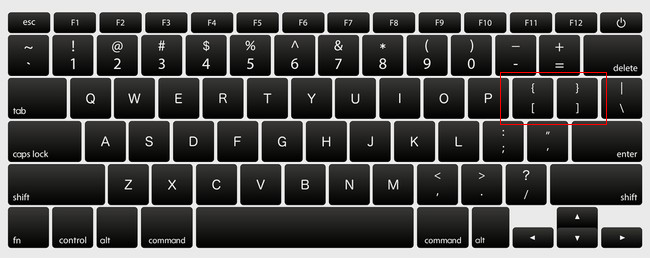
But to know me is to know how much I love shortcuts. Ain’t nobody got time to go up to the menu and wait for a drop-down menu. Am I right?! So the shortcut is this. While holding down the Command key (MAC) or the Control key (PC), hit the Bracket keys to rotate or spin your image to your desired perspective. It is seriously so quick and easy. Just flip it and move on!
If you’re a visual learner like me, watch the 2 minute tutorial to see exactly how it works!
I can promise you, once you have this shortcut memorized, you’ll use it all of the time! It is so quick and easy!
If you found this helpful, I have many tutorials on my You Tube Channel where you will find weekly Lightroom editing tips and shortcuts. Be sure and SUBSCRIBE so you’ll never miss them. And please share this with a friend who also loves to edit!
If you have editing questions, never hesitate to reach out. I am always here to help. DM me on Instagram @alisamccormick and let’s chat! I am an open book and love to help others grow on their editing journeys.
Until next time, Happy Editing!


leave a comment