

When I am editing photos on the go, I always use the Lightroom Mobile App. For the highest quality phone edits, there is nothing that can beat it. And it’s so simple to use. If you want to see just how simple, download my FREE Lightroom Mobile Course. You will be amazed how easy Lightroom Mobile is to use.
The Lightroom Mobile Course is free, and the Lightroom Mobile App is free. So you have absolutely nothing to lose and everything to gain. Get ready to love your photos!!!
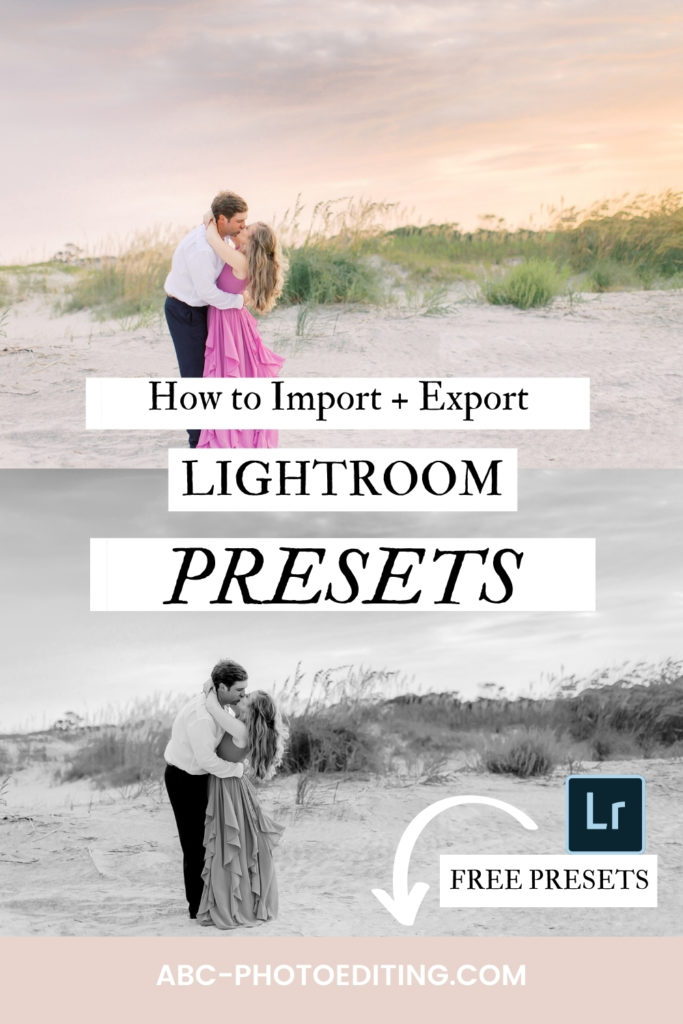
IMPORTING AND EXPORTING LIGHTROOM PRESETS
Because Lightroom Mobile does such an incredible job at editing my phone photos, I use my phone exclusively while traveling. But I wanted the ability to use the same presets with Lightroom Mobile that I use when editing professionally with Lightroom Classic on my desktop.
I thought the exporting and importing process would be difficult. Perhaps even impossible. But the contrary is true. It is actually simple to export presets from the desktop version of Lightroom Classic. And import those presets into your Lightroom Mobile version, to use on your phone photos.
Here’s a tutorial on how to export presets from Lightroom Classic (the desktop version) and import them into Lightroom Mobile (the phone version). It is so easy to do!
WATCH MY WALK THROUGH VIDEO BELOW OR SCROLL DOWN TO READ WRITTEN INSTRUCTIONS
Written instructions: How to export and import presets for Lightroom Mobile
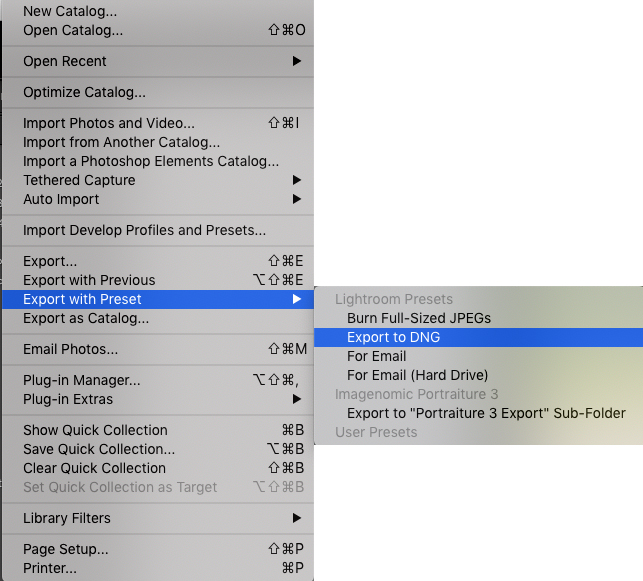
- Using Lightroom Classic or Lightroom CC (whichever desktop version you choose), apply your favorite preset to an image, (PLEASE NOTE: You cannot use a Smart Preview for this. It must be a RAW file or a JPG, in order for this to work). With that image highlighted, select: File > Export with Preset > Export to DNG and save. This will save the image as a DNG file and this will be your preset for Lightroom Mobile.
- Transfer the DNG file to your phone with your preferred method. You can transfer it to your phone using the free version of Dropbox. Or you can even text it to yourself. It doesn’t really matter how you get it to your phone.
- Download the DNG file to your phone.
TIP ONE: The image might appear like it was not edited. It will appear as a RAW unedited photo. Don’t worry, it will still work.
TIP TWO: If you’re downloading a Lightroom Mobile preset from online, it might come in a ZIP file. So make sure to unzip this file on a computer first before transferring it to your phone, or it will not work.
- Upload the DNG file as a photo into your Lightroom Mobile App and add the DNG image like you would any other image.
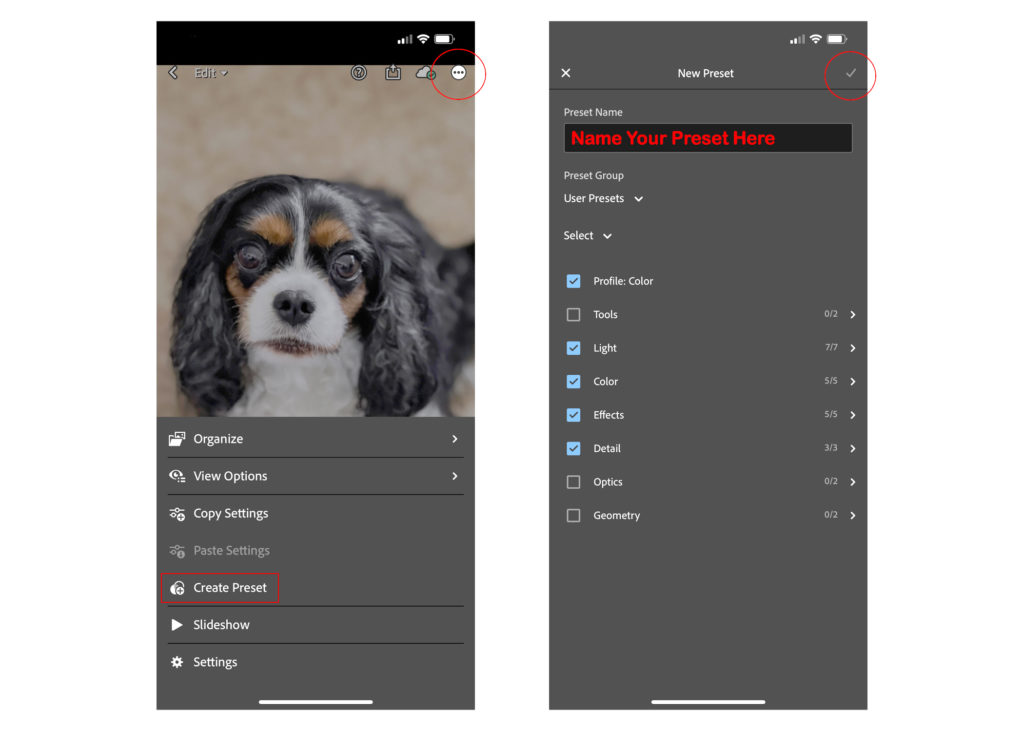
- Open the photo and in the Presets tab, select the top 3 dots and select > Create Preset
- Give your preset a name. I recommend giving it the same name it is on your desktop version of Lightroom to prevent confusion later. And then click the check mark in the top right-hand corner of your phone’s screen.
- You have now installed a LIGHTROOM MOBILE PRESET! Use your new preset and apply it to a new photo and watch the magic! Repeat this process if you have multiple presets.
Conclusion
I hope you enjoyed my walkthrough. I know it seems daunting the first time you try it. But I promise you, once you have done it a couple of times you won’t even need these instructions.
Before you leave, be sure to grab my FREE Black + White Preset below. It’s 1 of 4 that I use everyday as a professional photo editor, on my client’s images. Click the link button below to grab it.
If you found this helpful, I have many tutorials on my You Tube Channel where you will find weekly Lightroom editing tips and shortcuts. Be sure and SUBSCRIBE so you’ll never miss them. And please share this with a friend who also loves to edit!
If you have editing questions, never hesitate to reach out. I am always here to help. DM me on Instagram @alisamccormick and let’s chat! I am an open book and love to help others grow on their editing journeys.
Until next time, Happy Editing!


leave a comment