

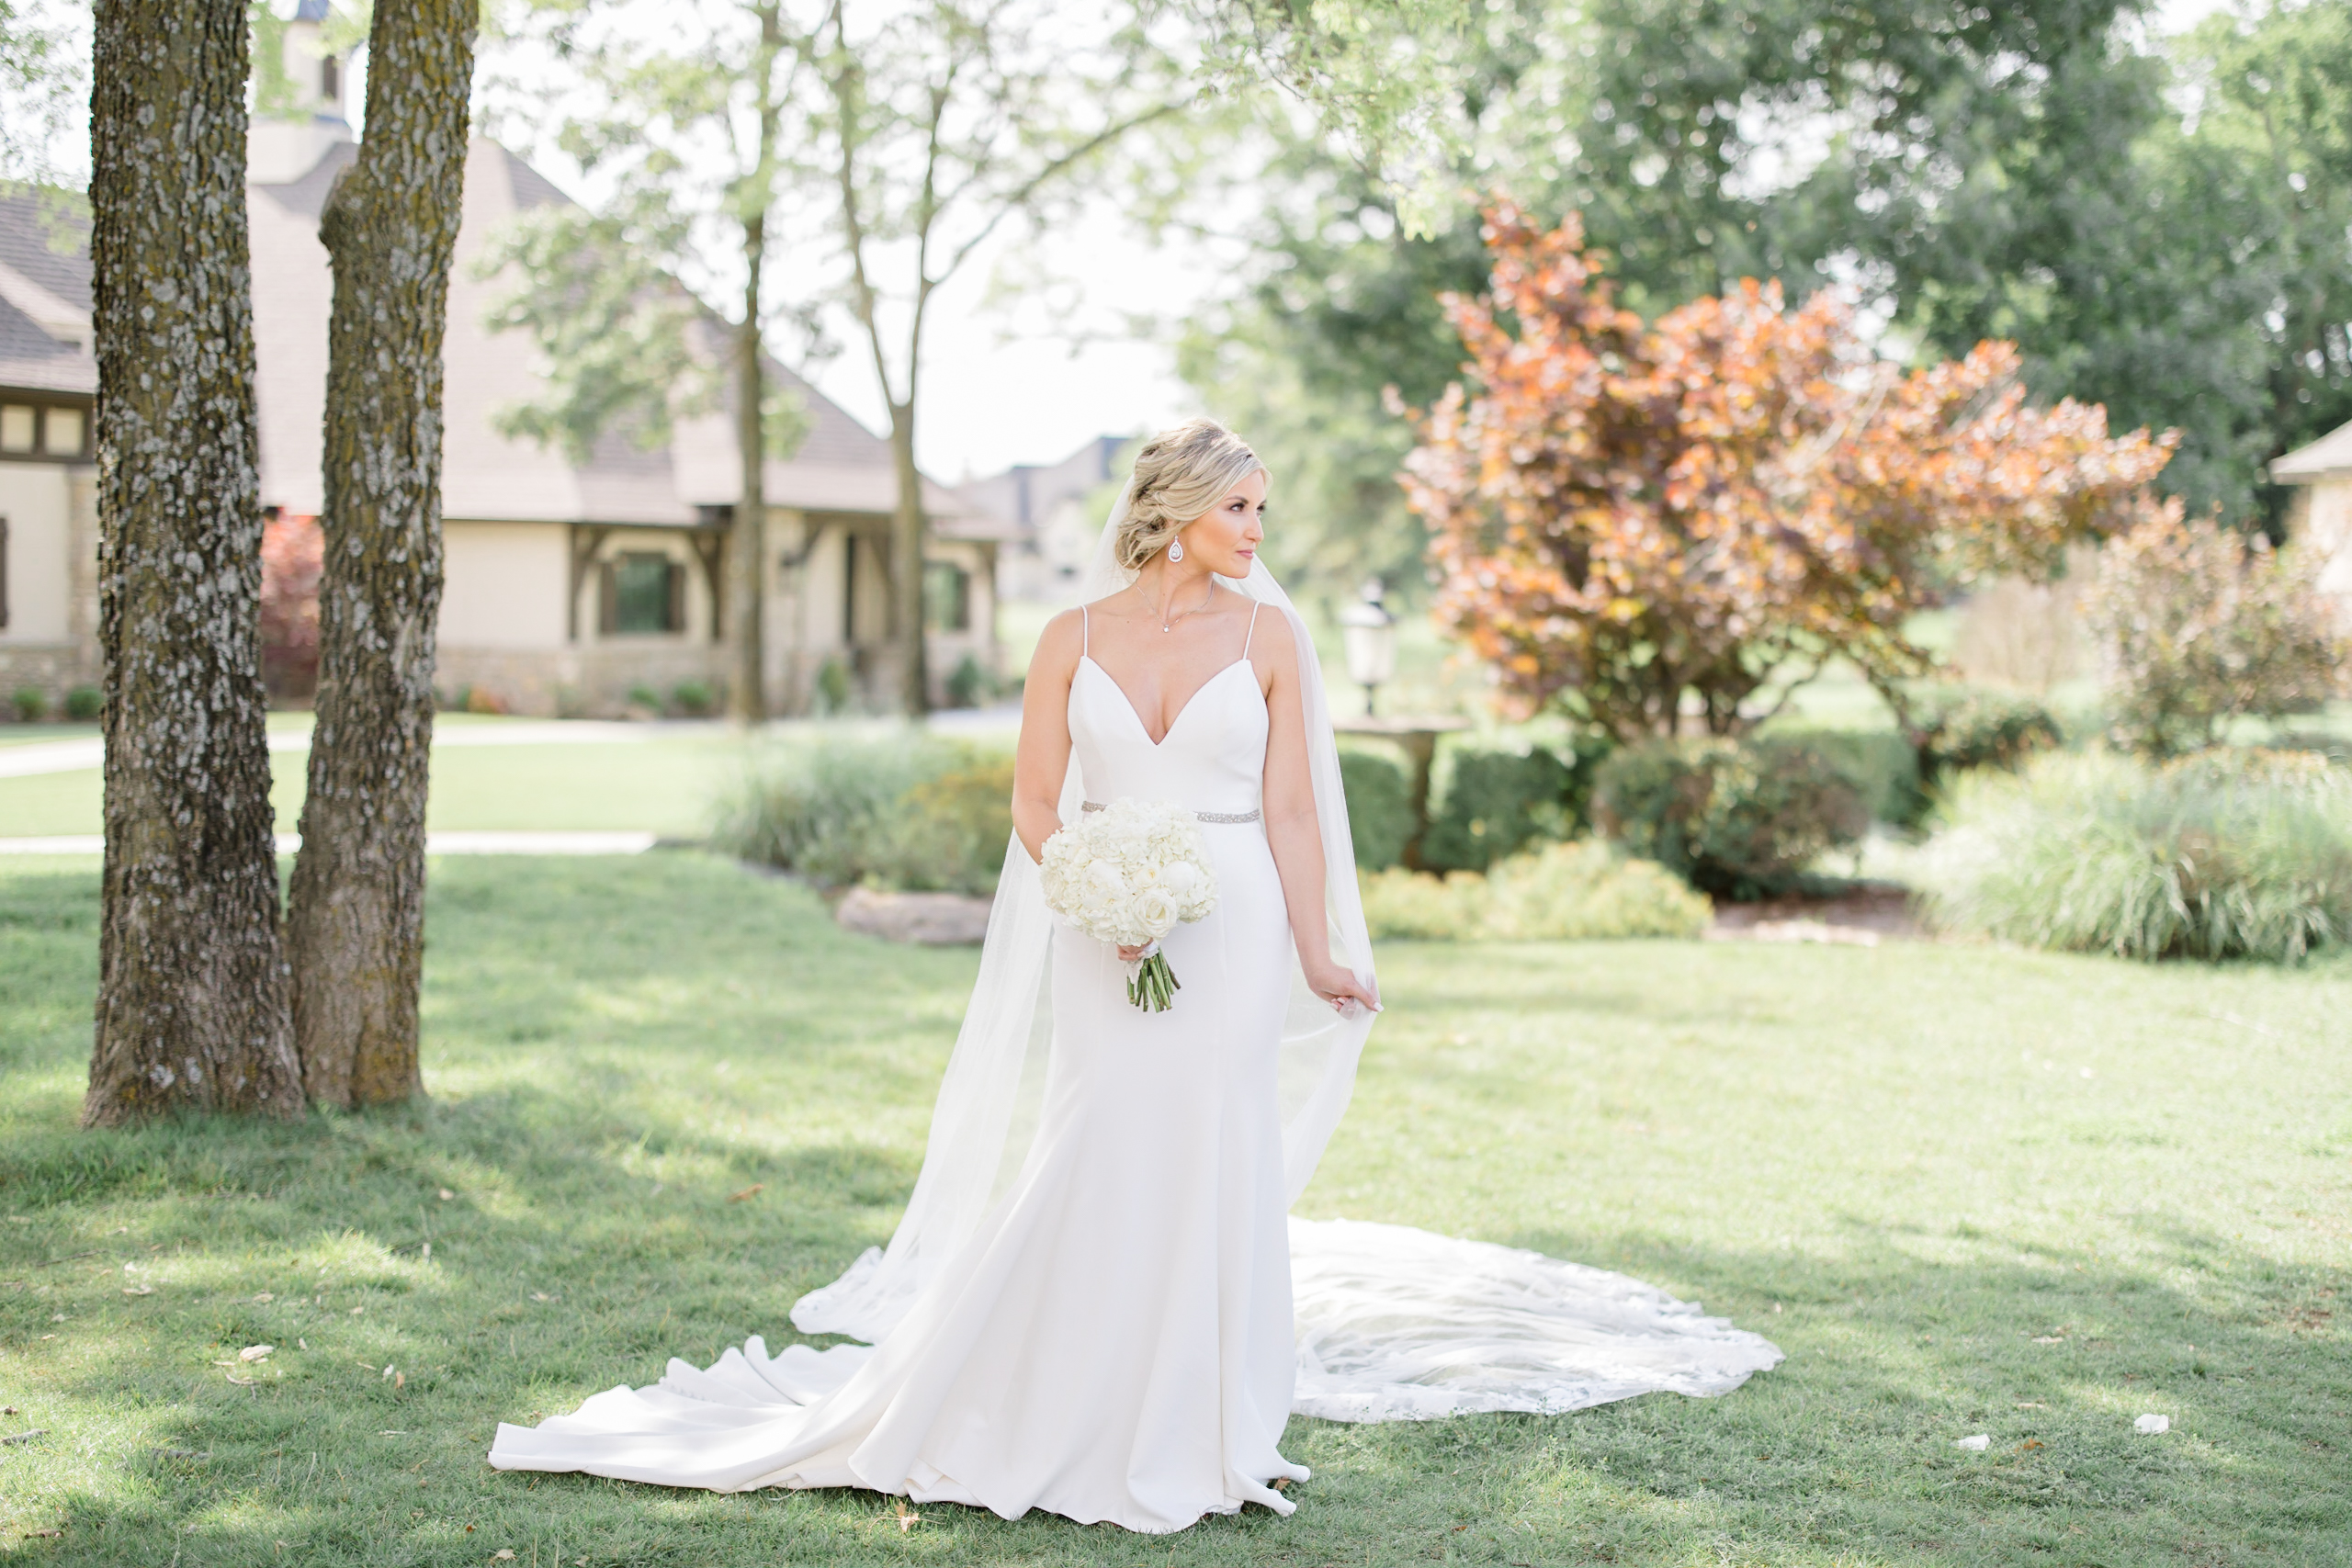
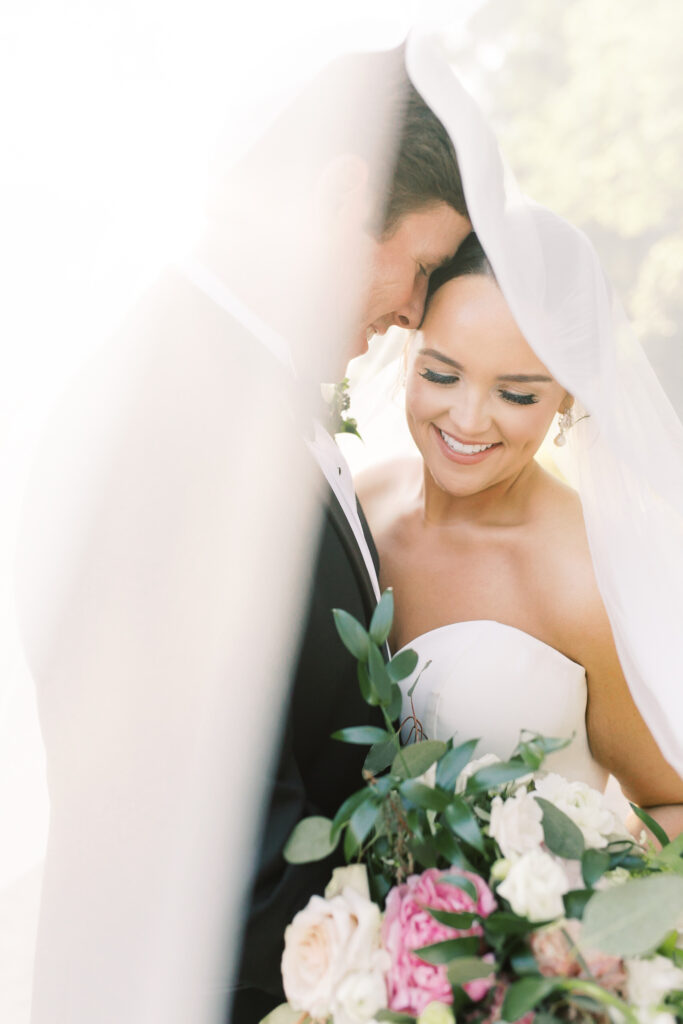
It is no secret that everyone wants to achieve perfect skin tones in their images. Skin that radiates and glows, with luminescence, while maintaining that true-to-life appeal.
But the question is how? How can you achieve that?!
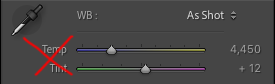
Most folks head to the Temp + Tint sliders at the top of the Basic Panel, in the Develop Mode. But I am here to tell you, DON’T do that. When you are trying to dial in perfect skin tones, the Temp + Tint sliders should not be your go-to. They are better used to adjust the overall Temp + Tint of an image.
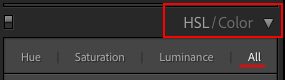
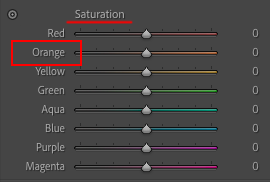
Instead of using the Temp + Tint sliders to adjust the skin tones, head to the HSL Panel. Once you are there, click the ALL button.
First choose the ORANGE SLIDER under HUE, to adjust the hue/color of your skin tones.
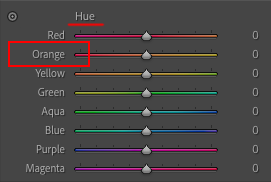
Next use the ORANGE SLIDER under SATURATION to adjust the depth and saturation of your skin tones.
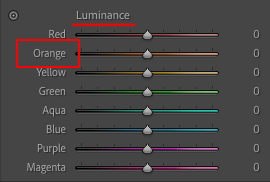
Lastly, adjust the ORANGE SLIDER under LUMINANCE to make the skin glow or to add depth to the skin.
And there you have it. My secret sauce to achieve gorgeous skin that looks alive and luminescent! Try it and let me know what you think. I bet you’re gonna LOVE it!!!!
If you found this helpful, I have many tutorials on my You Tube Channel where you will find weekly Lightroom editing tips and shortcuts. Be sure and SUBSCRIBE so you’ll never miss them. And please share this with a friend who also loves to edit!
If you have editing questions, never hesitate to reach out. I am always here to help. DM me on Instagram @alisamccormick and let’s chat! I am an open book and love to help others grow on their editing journeys.
Until next time, Happy Editing!


leave a comment