

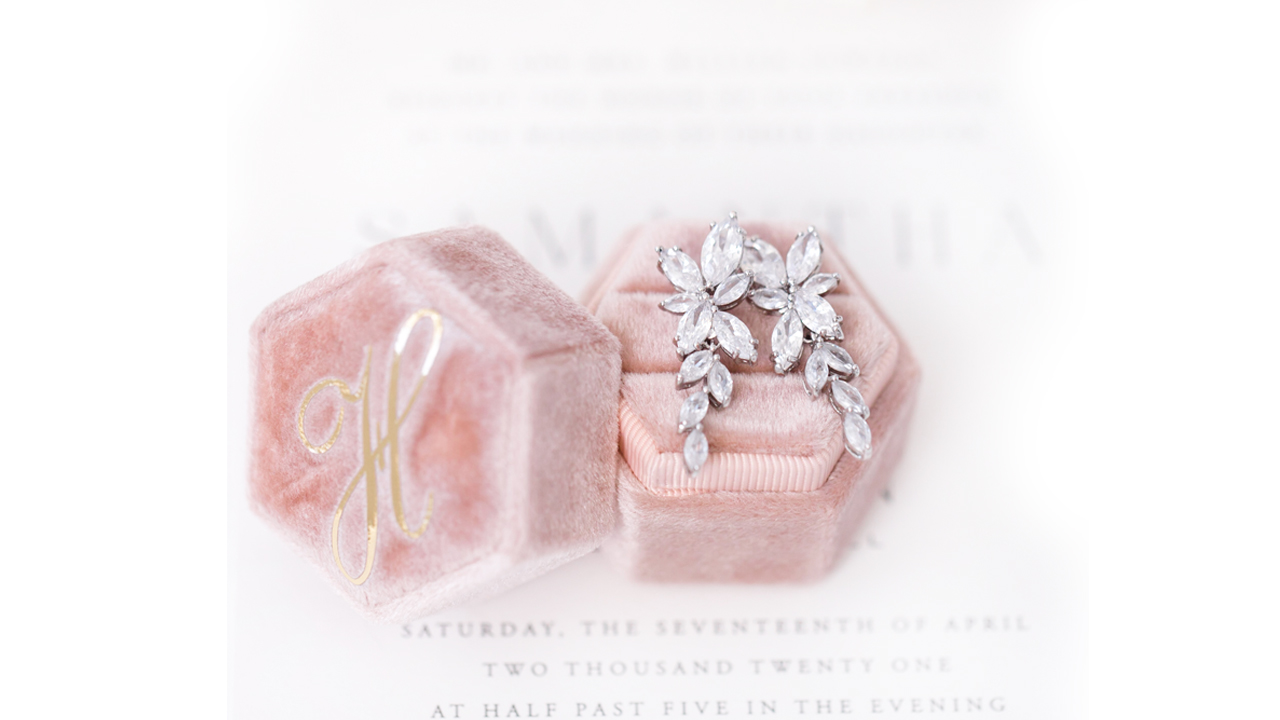
What is White Balance (WB)? And how do we know if we have achieved it?
When someone refers to WB, they are really talking about the temperature and tint of an image, and the overall color of an image. Are the whites-white? Are the blacks a true black? Or can you see green or blue undertones in the image?
It can be confusing. So let’s simplify it. First things first. Read this post HERE. Just by changing the background color that you work on. to white, you have conquered half of the battle. Editing on white enables you to tell instantly if your whites are a true white.
Chances are, if your whites are white and your blacks are truly back, the rest of the image will be spot on as well.
How to Fix White Balance in Lightroom
As is the case with almost everything you can do in Lightroom, there is more than one way to adjust the WB. But today, I am only going to show you one. It is the one I use, almost exclusively. And it is something every editor or photo enthusiast should know.
There is an EYE DROPPER TOOL in the BASIC PANEL of the DEVELOP MODULE. If you click the eye dropper icon, then move the eye dropper to a part of your image that is neutral, it can help you achieve the correct WB.
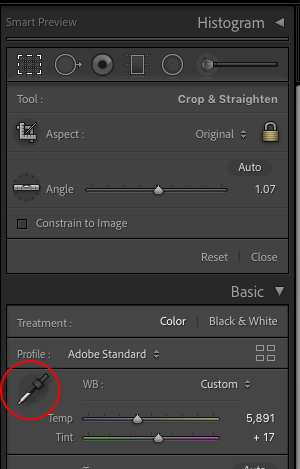
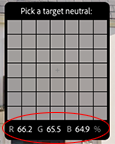
And when I talk about a neutral place on the image, that just means a spot on the image where the RGB (red, green, blue) values are very close to each other.
It sounds much more confusing than it really is. Watch the video tutorial below, and I think you will quickly see what an amazing and helpful tool the eye dropped can be!
3 QUICK TIPS
- The white balance will not change until you click your mouse. The RGB box will continue to change color as you move the eye dropped around, but the image does not change until you click your mouse.
- If you do click and realize the eye dropper failed and it is obvious you did not achieve the correct WB, just try again.
- Don’t forget to use the keyboard short cut for this Lightroom tip. Just hit the ‘w’ key while in the Library or Develop Modules. That’s it. It turns your mouse arrow into an eye dropper icon and you are ready to hunt for a neutral spot on your image.
If you found this helpful, I have many tutorials on my You Tube Channel where you will find weekly Lightroom editing tips and shortcuts. Be sure and SUBSCRIBE so you’ll never miss them. And please share this with a friend who also loves to edit!
If you have editing questions, never hesitate to reach out. I am always here to help. DM me on Instagram @alisamccormick and let’s chat! I am an open book and love to help others grow on their editing journeys.
Until next time, Happy Editing!


So helpful, thank you!!!
Thank you SO much for the encouragement! It means so much. And if there is something in particular you are wanting to learn, just let me know. It’s a joy to share what I have learned! Hugs, Alisa