

Before you read this post, make sure you have seen PART 1, which includes a how-to YouTube video as well. You don’t want to miss any of the editing tips + tricks I use everyday as a professional editor, to get gorgeous skin tones!
Every week, I get questions about skin tones. Questions such as,
“How can I perfect my skin tones?”
“How can I get the skin in my photos to look glowy and luminescent?”
“How can I make my subjects look soft and supple?”
We all want it!
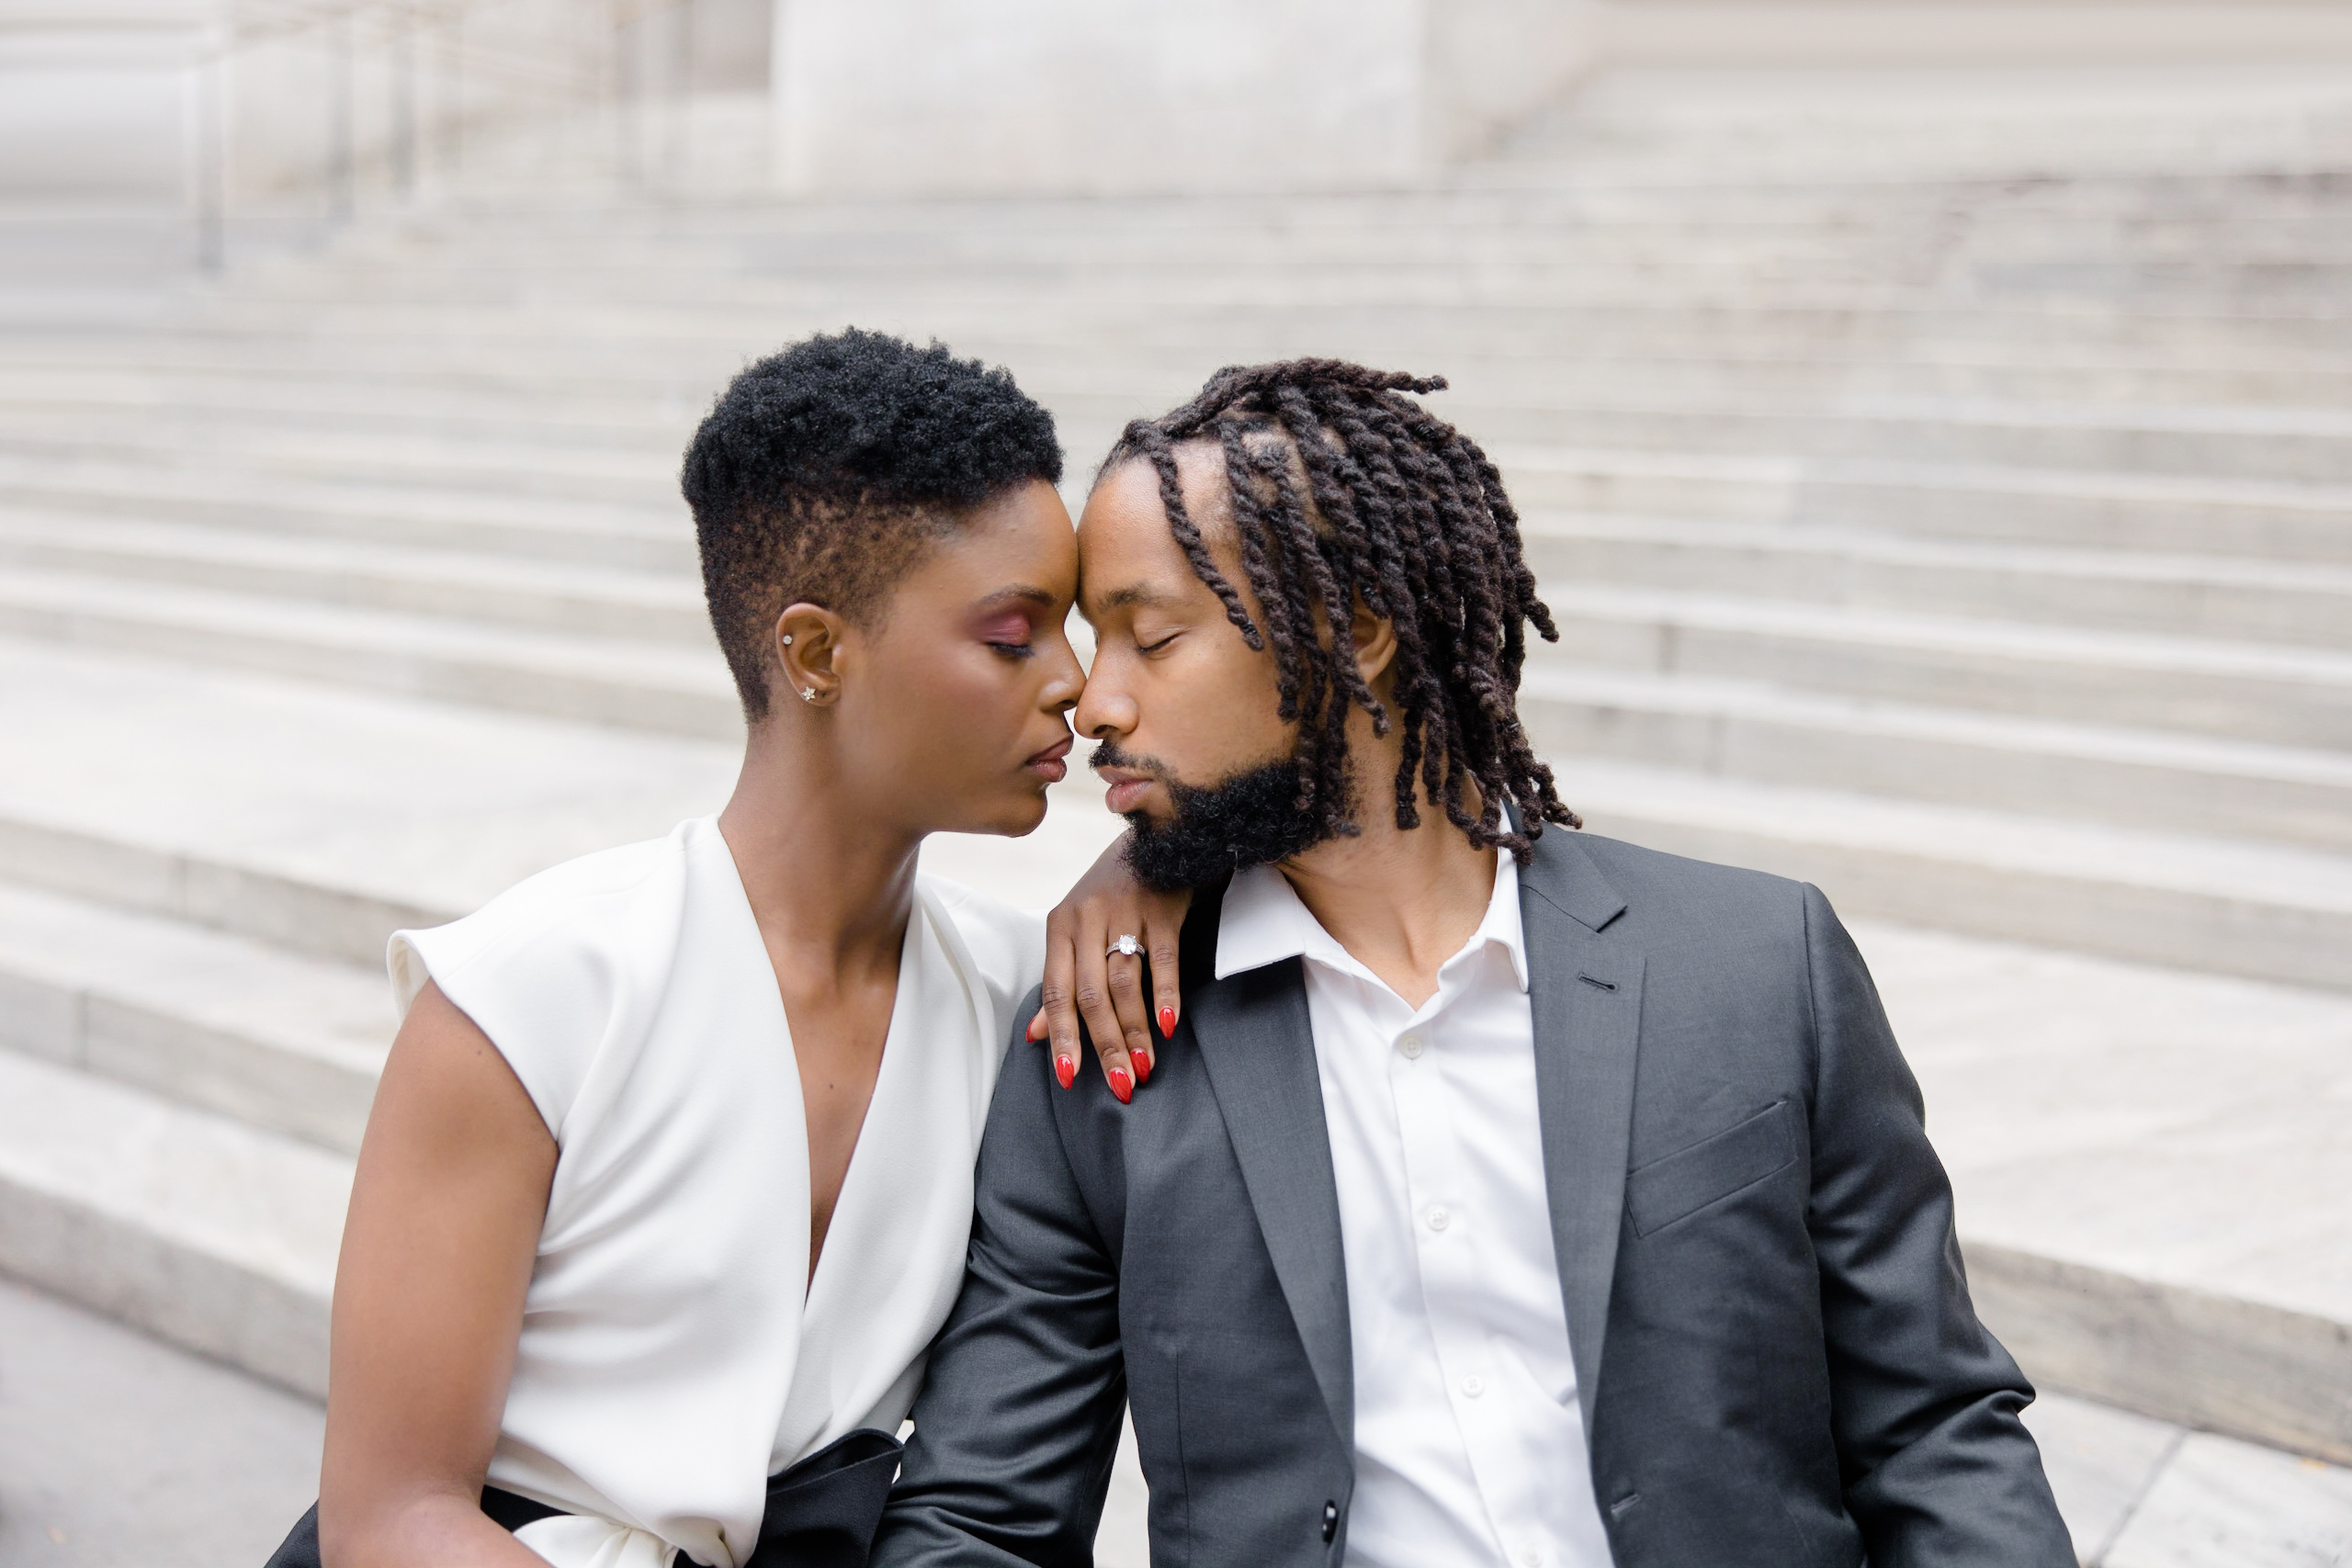
Having beautiful, luminescent skin tones is something every editor and photographer desires. We strive for it and try everything we can think of to get that elusive, dreamy skin, we see in other’s photos. Not to mention the purchases we make chasing those skin tones. Or am I the only one who has bought way more presets than I want to admit to?!
I do have tips and tricks for you that will help you attain the skin tones your crave. But you know me. I am all about keeping it real. So I am obligated to post these tips with this caveat.
The Caveat
Perfect skin tones START IN CAMERA! Let me say that one more time…Perfect skin tones start in camera! As an editor, I would love to take all of the credit for the gorgeous skin tones you see on my Instagram Grid. But my conscience would never let me do that, because I know better.
Capturing an image, correctly-in-camera, is THE BEST way to get those dreamy skin tones you covet. Lightroom is amazing and it can do wonderful things. But it can never turn an awful, under-exposed image into a show-stopper. You must capture it correctly in camera, to have perfect, dreamy, soft, glowy skin tones.
Why is this important?
There are 2 reasons this is so important to note:
- As an editor, you will never be able to deliver a post-product your client desires if they are not capturing the images correctly in-camera.
- As a photographer, you need to understand that no preset in the world, or editor on Earth will be able to deliver perfect dreamy skin tones, if it’s not captured correctly in-camera.
One Last Note
I cannot post about Presets + Profiles without this note as well. Presets + Profiles are rarely, IF EVER, one-click-and-done, regardless of how they are advertised.
I have been a professional editor for over 6 years and have edited well-over 1000 weddings! And the one-click-and-done scenario has probably only happened for me, half a dozen times!!!
Presets + Profiles are an amazing tool. I love them and use them EVERYday in my editing! But it’s important to remember, they are a STARTING POINT. The majority of the time, you will still need to make adjustments to several of the sliders within Lightroom.
If you do not know that going in, you will be disappointed and discouraged with every Preset + Profile you purchase!
Now to the tips and tricks
This reel will get you started. And then click the link below, that will take you to a BLOG POST that will give you even more tips on perfecting your skin tones.
Head over to this BLOG POST as well, to get even more detail on how I edit my skin tones.
More Resources for your editing journey
If you found this helpful, I have many tutorials on my You Tube Channel where you will find weekly Lightroom editing tips and shortcuts. Be sure and SUBSCRIBE so you’ll never miss them. And please share this with a friend who also loves to edit!
If you have editing questions, never hesitate to reach out. I am always here to help. DM me on Instagram @alisamccormick and let’s chat! I am an open book and love to help others grow on their editing journeys.
Until next time, Happy Editing!


leave a comment